Introduction
Welcome to Part 4 of my 5 Part blog series, “How To Break Into DFIR”. Part 4 will focus on understanding the basics of threat hunting and what resources you should focus on to get this understanding. This is typically the most challenging transition for most folks in the field where the jump from doing analysis on a single host to threat hunting at scale can seem extremely daunting. Luckily, there are a ton of resources out there to help prepare those looking to take the next step in their DFIR career. It’s at this critical step, where folks really begin to level up in their DFIR journey and begin to conduct analysis much more efficiently which ultimately leads to quicker and more substantial findings.
There are many forms of threat hunting such as proactive threat hunting, reactive threat hunting, and hypothesis-based threat hunting. Proactive threat hunting consists of taking a proactive approach to identify a potential breach or sign of attack in an environment. This occurs more with folks who work in internal incident response roles that are looking to fine tune any detection rules they have in place in their environment. Reactive threat hunting is when an internal information security team or incident response consulting team responds to an active threat in an environment and their primary job is to eradicate the threat actor and achieve full containment of the incident. There are many instances also where reactive threat hunting consists of performing analysis at scale in an environment after a breach has occurred to fully understand the scope of the attack and also report out if containment has been achieved. Finally, hypothesis-based threat hunting relies heavily on threat intelligence to better understand how a threat actor might breach an organization in the future. A perfect example of this is when a security advisory is released for an active campaign being conducted by a particular threat group where there is a wealth of information on the tactics, techniques and procedures (TTPs) being conducted by said group. That information can then be used by an internal information security team to conduct a threat hunt and attempt to re-create the kill chain of that attacker in their environment based on their hypothesis on how the threat actor would attack their environment if they were targeted.
For the purposes of this blog, we will be focusing on reactive threat hunting where a breach has already been confirmed (whether its an active breach or a previous breach that occurred i.e. ransomware). As I did with my previous blog, I’m going to share the resources I used to better understand the core basics of threat hunting and as I said previously, these resources will be more beneficial if followed in the particular order that I list so there is natural progression with your learning.
Step 1 – Download and Configure SOF-ELK and Ingest multiple KAPE output files to perform analysis at scale
The best way to get familiar with threat hunting, is by actually threat hunting in multiple platforms. I found that the easiest platform to start off with is SOF-ELK. SOF-ELK was created by Phil Hagen, renowned SANS course author and lead instructor for FOR572: Advanced Network Forensics: Threat Hunting, Analysis, and Incident Response. As mentioned here on the SANS website, SOF-ELK is a “big data analytics” platform focused on the typical needs of computer forensics investigators/analysts and information security operations personnel. It’s a customized build of the open-source platform Elastic Stack also known as ELK Stack (Elasticsearch, Logstash, Kibana, and Beats). SOF-ELK uses the same query languages that the ELK Stack uses, which are KQL (Kibana Query Language), Lucene Query Language, and Elasticsearch Query DSL. KQL is the default query language in Kibana’s Discover, Dashboard, and Visualize tools. KQL was designed to be extremely user friendly and it’s why I feel it’s a great introduction for those looking to use a big data platform to conduct analysis at scale. Lucene is the legacy query language which is used for backward compatibility but is also less user-friendly. Finally, Elasticsearch Query DSL is used in Kibana’s Dev Tools and is very powerful and flexible but much more advanced and not recommended for beginners.
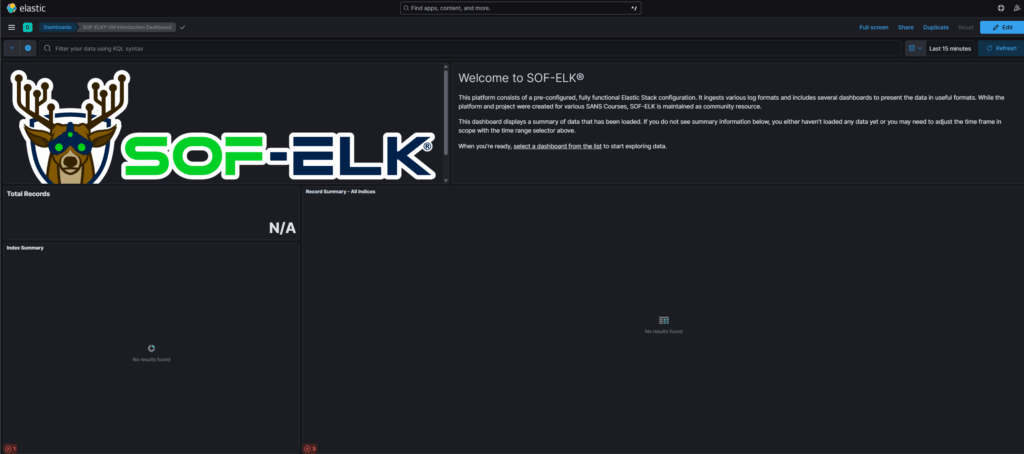
SOF-ELK includes configuration and support files on its GitHub page that are used to first configure and spin up your SOF-ELK instance via a virtualized platform (VMware Workstation Pro, Oracle VM VirtualBox, etc.). You can also find the README here which details everything you need to know about the pre-packaged VM. Once you get through the steps of spinning up the pre-packaged VM for SOF-ELK and logging into the VM and then entering the provided URL from your VM into your browser, you will see a screen that looks like this:
The next step is to actually start ingesting data into the SOF-ELK platform so you can begin practicing conducting analysis at scale. The best approach I found was written by a good friend of mine Tony Knutson back in 2021, where he went into detail on how to integrate KAPE with SOF-ELK and copy over KAPE triage output files into the respective indexes in SOF-ELK. You can find that blog here.
Many folks that start their careers in DFIR typically perform host and triage analysis leveraging KAPE and so this step essentially takes some of that KAPE output that you are familiar with analyzing and just multiplies it. Instead of conducting analysis on KAPE output for a single host in tools like Timeline Explorer or Microsoft Excel, you are conducting analysis on many KAPE output files that have been ingested into SOF-ELK which allows you to practice this new approach of performing analysis at scale. Imagine the amount of time you save by analyzing multiple event logs for multiple systems at once, as opposed to event logs for a single system. This is why being able to threat hunt at scale is extremely beneficial to you and your team and practicing with SOF-ELK is a great first step!
Step 2 – Log into your previously created CyberDefenders Account and Complete Some Threat Hunting Labs
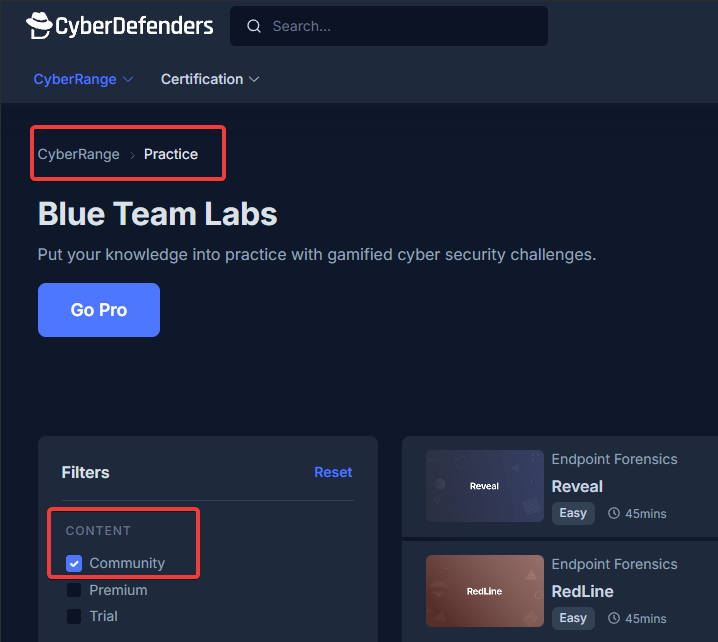
Step 2 is where you’ll dive into labs on CyberDefenders that I found to be extremely helpful. As mentioned previously in Parts 2 and 3 of this blog series, you can filter in the free tier titled, “Community” under the “Content” section. This can be found in the “Practice” section under the “CyberRange” dropdown. See the image below:
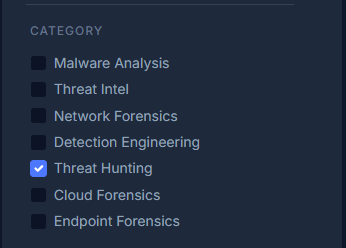
Once you are filtered on the “Community” content, the best place to start on CyberDefenders if you want to get hands on experience with threat hunting labs, is to filter on “Threat Hunting” under the “Category” section. See the image below:
Now at the time of this writing, there is only one lab currently available in the “Community” section aka the free labs which is called “Qradar101”. QRadar was once a widely used SIEM (Security Information and Event Management) platform but has been overshadowed by most of its competitors that offer cloud-native and hybrid SIEMS such as Microsoft Sentinel, Splunk (Cloud and Enterprise), Elastic Security (formerly ELK Stack SIEM), and Google’s Chronicle Security to name a few. Nonetheless, QRadar is still well known and would be great practice for someone looking to get more hands-on experience conducting analysis at scale especially in a SIEM platform.

CyberDefenders does offer many more labs if you want to get additional practice, but it will be at a cost. These labs can be found in the “Premium” content section. See image below:
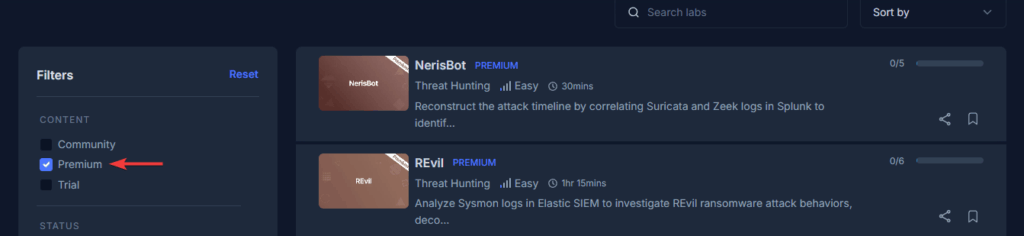
At the time of this writing, CyberDefenders offers 25 premium labs focused on threat hunting, predominantly in Splunk and ELK Stack. In order to access these premium labs, you will need to purchase a subscription, which if you opted to buy the monthly plan, it is $20/month or if you bought the yearly plan, it would be $16.67/month.
Step 3 – Complete The DFIR Report Labs
Another fantastic source for threat hunting labs is The DFIR Report. You will have access to labs that leverage multiple SIEM platforms (Splunk and Elastic) to complete various public cases. These cases consist of real-world scenarios involving network intrusions and ransomware attacks. Each lab ranges in price as low as $16.99 USD (easy difficulty) to as high as $22.99 USD (hard difficulty). The DFIR Report also hosts a CTF event occasionally which again consists of challenges you will need to get through with access to their Splunk and Elastic SIEM instances. The CTF costs about $9.99 USD.
Step 4 – Complete XINTRA Course: Advanced APT Threat Hunting & IR
This next step is going to serve as the first part of formal training for threat hunting. One of the best courses out there currently is the Advanced APT Threat Hunting & IR course by XINTRA. This course consists of 129 lessons and provides you with 365-day access, so it is a self-paced course. Now the price is definitely a bit steeper than some of the previous resources I provided ($1650 USD), but this is definitely an option if your employer is willing to approve this course before sending you to SANS for instance which is an even heavier cost.
This course from XINTRA consists of a simulated APT (Advanced Persistent Threat) intrusion which covers each stage of the MITRE ATT&CK kill chain. It also includes 12 months of free access to XINTRA labs. The content of this course is definitely a bit more difficult, especially for those who haven’t worked an APT investigation up to this point, but it will be very beneficial for you in regard to conducting analysis at scale and in multiple different platforms. If you are someone that eventually wants to work on large scale IR investigations, this course will definitely help prepare you for these types of investigations.
Step 5 – Get familiar with the four main EDR/XDR vendor platforms for Threat Hunting
Step 5 is another one that is very dependent on your employer. For example, if you work for an EDR (Endpoint Detection and Response)/XDR (Extended Detection and Response) vendor, then you will have an advantage in gaining hands-on experience with that vendor’s EDR/XDR platform. However, most folks in consulting get exposure and experience in multiple EDR/XDR platforms simply from getting reps during investigations. At this stage, you should be familiar with how to threat hunt and perform analysis at scale in certain SIEM platforms such as ELK Stack and Splunk. The only difference here now is that you will need to threat hunt in different platforms that consist of different query languages. The four big EDR/XDR vendor platforms to learn during this stage, since they are widely used across most large organizations, are as follows:
- EDR: CrowdStrike Falcon | XDR: CrowdStrike Falcon XDR
- EDR: Microsoft Defender for Endpoint (MDE) | XDR: Microsoft Defender XDR
- XDR: Palo Alto Networks Cortex XDR
- EDR: SentinelOne Singularity | XDR: SentinelOne Singularity XDR
This is a critical stage as this is where most threat hunting takes place during an investigation due to the widespread use of EDR/XDR platforms in larger organizations. Most query languages are easy to learn, especially for those who have a basic understanding of SQL (Structured Query Language), since most of the query languages are inspired by SQL. Most of the vendors above also maintain good documentation and query libraries so you can begin to learn how to build queries and understand their functions. For example, Microsoft uses KQL (Kusto Query Language), arguably the easiest query language of the four main platforms to learn, and has many resources available to learn this query language such as the KQL Quick Reference guide, and the Hunting Queries on their Azure Sentinel GitHub page.
Step 6 – Complete SANS Course FOR608: Enterprise-Class Incident Response & Threat Hunting and Obtain the GEIR certification
Similar to XINTRA’s “Advanced APT Threat Hunting & IR” course, FOR608: Enterprise-Class Incident Response & Threat Hunting is yet another formalized training opportunity that will better prepare you to threat hunt at scale. Keep in mind, this course covers additional topics outside of threat hunting such as Linux forensics and cloud forensics, but there is a good amount of content in regard to threat hunting and performing analysis at scale in general. This course covers topics such as Enterprise Incident Detection and Threat Hunting, Large Scale Event Correlation and Timeline Analysis, and Multi-platform Artifact Analysis. You will be able to use multiple tools such as Velociraptor, ELK Stack, Timesketch, and more.
Once the course is over, you will have the opportunity to become certified by obtaining the GIAC Enterprise Incident Response (GEIR) certification. Having this SANS training and GIAC certification under your belt, will further solidify your understanding of threat hunting and working the coveted enterprise IR investigations. The only downside to this training is of course the price point. At the time of this writing, FOR608 by SANS is priced at around $8,780 USD without the GEIR certification which adds another $999 USD to the final total. In order to realistically pay for this course, it is recommended that you are currently working in a DFIR capacity at a company that also has training opportunities included such as SANS.
Conclusion
When it comes to conducting threat hunting and overall analysis at scale, the mindset for the most part does not change. You are still looking for evil in various datasets. However, the key difference is that you are not performing “tunnel vision” style analysis on a single host where you would typically tell the story of what happened on that one system. Instead, you are taking the approach of putting together the various puzzle pieces that make up the entire story (i.e. Initial Access, Reconnaissance, Credential Access, Privilege Escalation, Lateral Movement aka Blast Radius, Discovery, Execution, Persistence, Command and Control, Data Exfiltration, and Impact). Threat hunting and performing analysis at scale allow you to quickly tell that story.
As you have read through this blog post, you have been able to see there is a natural progression with each of the above outlined steps. The order of these steps was fully intended to help guide you through your journey in a way that is realistically paced for a successful breakthrough into DFIR and continued success as you gain experience under your belt. As long as you follow each step, and spend the right amount of time on them, you should have the necessary tools and resources at your disposal to succeed. Keep in mind, everyone learns at their own pace, and some have less time in their day to dedicate the number of hours necessary to successfully accomplish each step so be sure to spend the time you feel is aligned with your pace and makes sense for you.
The next and final blog in this 5-part series will focus on Specializations.